MAKE TOOLPATHS
Part 6
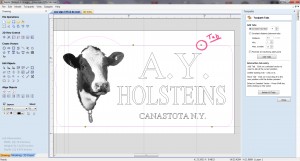
We now have created all the vectors we will need to complete the CNC sign project. The next step is to make toolpaths for each router bit. When we imported the PhotoVCarve toolpath it also created a Toolpath file under the toolpath tab (to the right of your screen) so we won’t need to create a new one . We will need to make a Toolpath from the vectors for the text and a toolpath for the border elements.
CREATE THE TEXT TOOLPATH
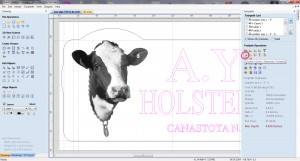
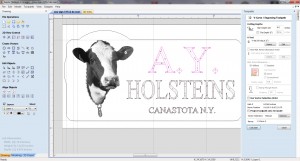
Left Click on the text to select it . Then Click the Toolpath tab and select the Create V-Carve/ Engraving toolpath icon. The V-Carve Toolpath will change to allow you to enter data. You will be able to select the cutting bit to be used, in this case the 1/2″ diameter, 60 degree V-Bit. You can also select the tool depth of cut but we will not use this feature. So after you select the 60 degeree V-Bit, click the CALCULATE BUTTON. Aspire will make a tool path for the Text for you.
Advanced Tip: To create smoother Text cuts convert the text to curves before creating a toolpath using the CONVERT OBJECTS TO CURVES tool.
CREATE A PROFILE TOOLPATH
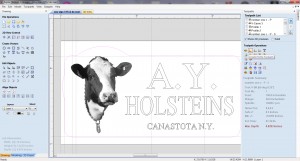
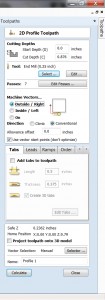
Next we will create a profile toolpath using the Border vectors we created earlier. A profile toolpath is used to cut around a shape or along a path. In this case we will use a profile toolpath to cut our sign free from the board. To create a toolpath for the border vector we must first select it by left clicking anywhere on the border. Once you have selected the border you click on the Toolpaths tab to open up the Toolpaths slide out. Then select the Create Profile toolpath tool.
We have to set the parameters for the profile cut. First we set the depth of the cut to 0.877″. We set the depth deeper than the material so that we would ensure the part cuts completely through. We also select the bit to use. In this case I selected a 1/4″ endmill. I did this by pressing the SELECT button.
SELECT ROUTER BIT
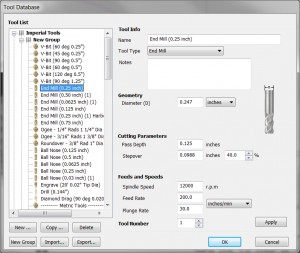
Pressing the SELECT button sends me to the TOOL DATABASE window. In the tool data base I can select a bit or add a new one. I can also copy the settings from one bit and edit them to make new ones. You can also set the cutting speed and feed rates for each bit individually. Once you have located you bit and selected it just press OK to continue.
TOOLPATH TAB
Further down in the Toolpath tab is MACHINE VECTOR section. We want our profile to cut on the outside of the part, not inside or On the line. Cutting on the outside of the vector give you a part with exact finished dimensions.
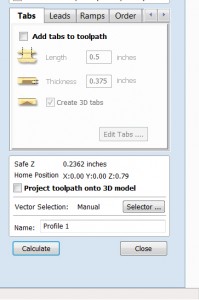
At the bottom of the Toolpaths tab is the Tabs menu. Check the box marked add tabs to the toolpath and a window opens up.
ADDING TABS
You can then edit the number of tabs to include. I suggest a minimum of four tabs. Tabs are used to hold the finished part in place while cutting loose the part. The tabs are later trimmed away to free the part. Finished parts without tabs can be easily drawn into the cutter and ruined.
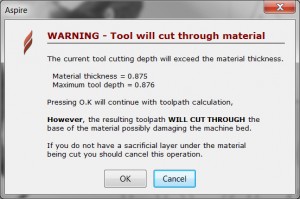
After creating the tabs click on the CLOSE Button. You will be taken back to the previous menu where you can name your tool path and then Select the Calculate button. You will receive a warning message because we set the depth of cut deeper than the material. Since we want the sign to be cutout of the material this is fine. Select OK.
PREVIEW TOOLPATH
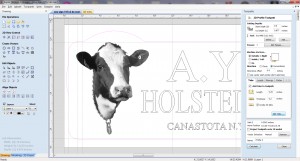
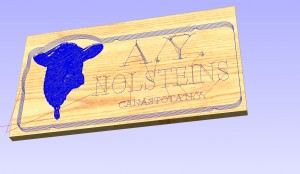
After the toolpaths are calculated you can preview what the paths look like by clicking on the 3D tab. An image of your rough stock is displayed. You can turn the toolpath previews on or off by clicking the check boxes in the toolpath tab.
PREVIEW SIGN
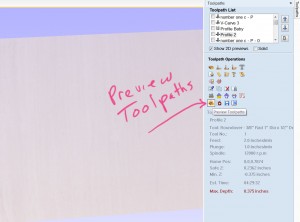
To get a look at what the finished sign will look like I used the Preview Toolpathes Icon in the Toolpath tab. Simply Check the box next to the toolpath you would like to preview and select the Preview Toolpath button. You can preview the toolpaths individually or all at once. You can also choose different material textures.
SAVING TOOLPATHS
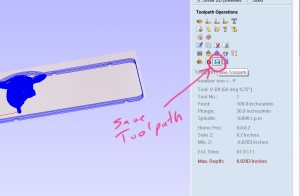
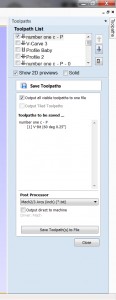
Now that all the toolpaths are created we need to save them to a thumb drive or other device to take to the CNC Router table. I do most of my design work in my office where it is comfy. I usually only make minor changes out in the shop. To save a toolpath, place a check mark in it’s box and then select your post processor from the list. Since I use Mach3 to drive my stepper motors, I chose the post processor shown. Select the one that is appropriate for your machine. Click the SAVE TOOLPATHS button and then choose the location where you want to save your files. It helps if you name your toolpaths something which easily identifies what they do. The default names are not descriptive enough for my tastes.
NEXT TIME
In the next post of the CNC Sign Projects Tutorial we will Prepare the wood piece for cutting. I hope you are finding this tutorial useful. Please leave a comment or some feedback. It gets lonely in the shop sometimes. Follow me on Twitter @BillGriggs or join our free newsletter.
CNC SIGN PROJECTS:
PART TEN



[…] PART SIX […]
[…] PART SIX […]
[…] PART SIX […]
[…] PART SIX […]
[…] PART SIX […]
[…] This Post! This weeks tutorial is about creating the Tool paths for the sign using Vectric Aspire. Bill Attached Thumbnails __________________ Making the world a better […]